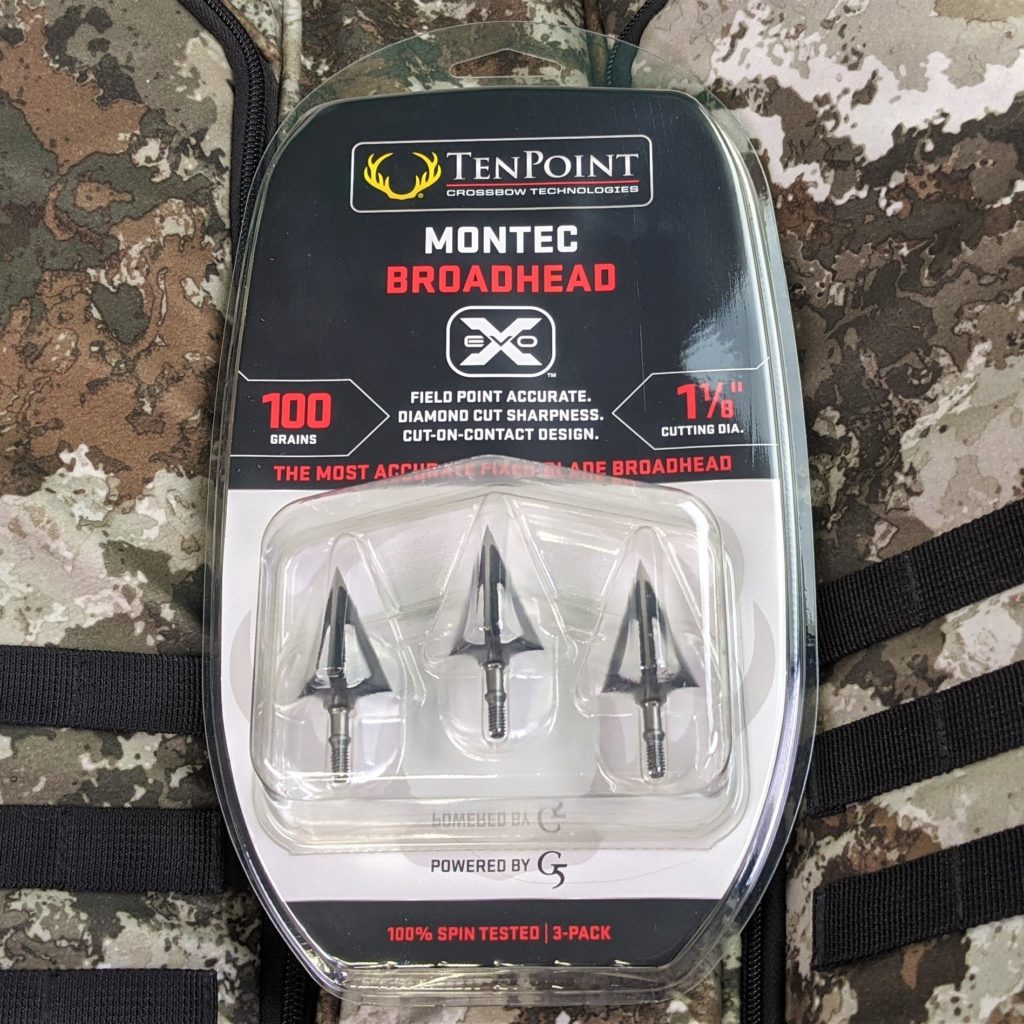
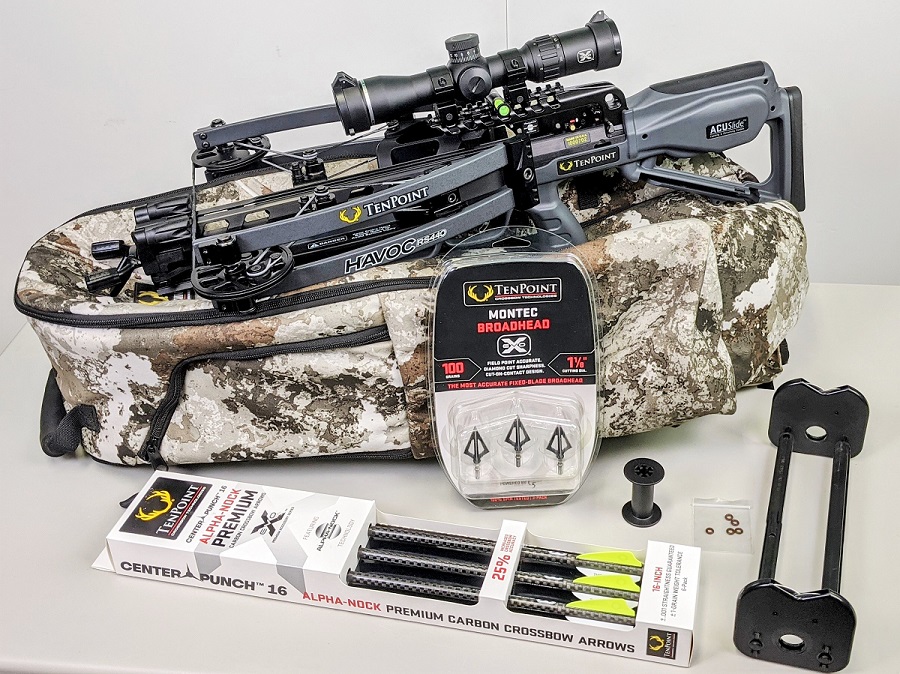
To tune your fixed blade broadheads, you will need: your crossbow; a broadhead target; crossbow arrows that are of identical brand and weight; EVO-X Montec Fixed Blade Broadheads (or any other type of fixed blade broadhead); a broadhead wrench (may need to purchase separately); rubber or Teflon O-Rings (size 6 mm outside diameter and 4 mm inside diameter – may need to purchase separately); and an arrow spinner.
Step 1: Sight in your crossbow using identical brand and weight crossbow arrows with field points. Be sure to use field points that weigh the same as the broadheads you will be shooting. EVO-X Montec Broadheads weigh 100-grains, so your field points should also weigh 100-grains.
Step 3: Set each arrow shaft into the arrow spinner and check to make sure that no part of the arrow wobbles when spinning. Pay close attention to the insert at the front of the arrow and the nock in the back. If you see a wobble in any of the arrows, set the wobbler aside and replace it with a new arrow.
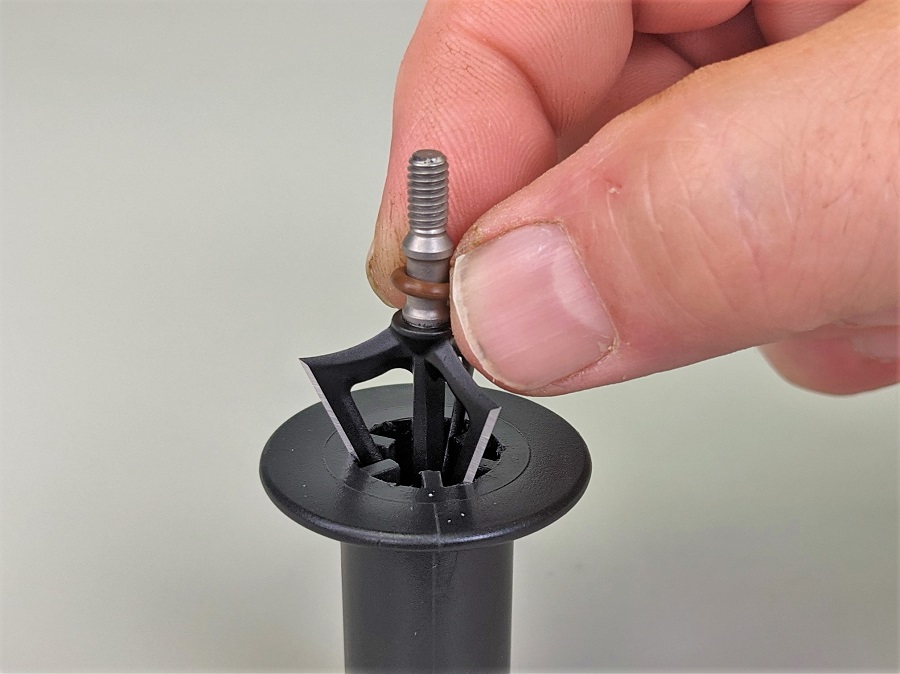
Step 4: After verifying the arrows and components are straight, slip the O-ring onto the broadhead’s ferrule, being careful not to handle the broadhead in such a way as to cut or injure yourself. If your broadhead comes with an installation tool, use that to hold the broadhead while you slip the O-ring onto it.
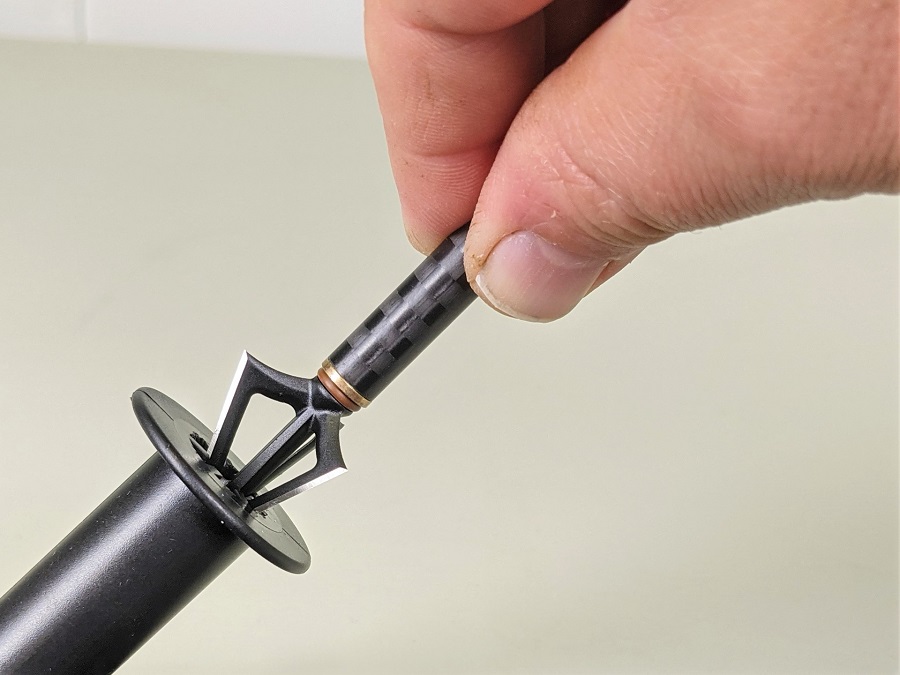
Step 5: Screw the broadhead into the insert just until you feel it tighten down on the O-ring and insert. A good technique for safely mounting broadheads in your arrows is to screw the arrow into the broadhead instead of screwing the broadhead into the arrow.
Step 6: Check the blades on the broadhead for alignment with the arrow vanes. The broadhead blades should line up with the vanes on the arrow. To be sure the blades line up with the vanes, set the arrow down on a flat surface. The bottom two vanes and the bottom two blades should all make contact with the surface and the arrow should not teeter. If they do not line up, tighten the broadhead slightly to align them and set the arrow back on the flat surface to re-check.
Step 7: Place the arrow with broadhead onto the arrow spinner and check again for straightness, paying attention to the broadhead as the arrow is spinning. If the broadhead does not wobble, you are finished with tuning and this arrow and broadhead are ready to be shot.
Step 8: Shoot one of your tuned arrows to check sighting of your crossbow and scope. If your point of impact is not near your point of aim, make any fine tune scope adjustments and shoot again to verify .