How To Use Your Trail Cameras For Effective Scouting
/ June 27th, 2018Trail cameras are the most valuable scouting tool for monitoring deer activity in your hunting area. However, are you using them effectively? Are you really getting as much information from them as they offer? Here are some tips and tricks for properly placing, using, and maintaining your trail cameras so that they give you the greatest advantage in the field.
Read the instruction manual for your camera prior to using it. The manufacturer will recommend the use of a certain type of battery and storage card. It is important to follow these recommendations, as they will ensure proper day-to-day functioning of your camera and will extend its overall life. Always purchase high quality batteries and storage cards. Familiarize yourself with how to set the date, time, and different modes of operation.
![]()
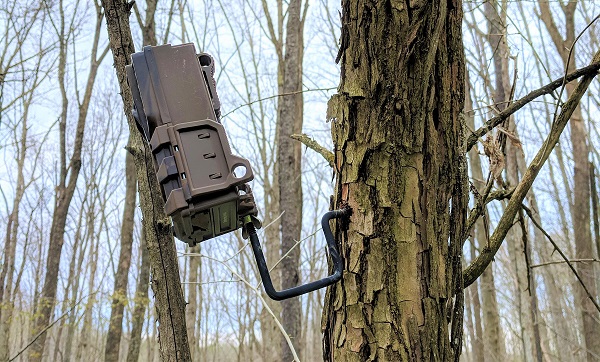
Now that you understand how the camera works, you are ready to mount it in the field. Most cameras will come with a strap for mounting to a nearby tree. Freestanding tripods or mounting brackets are other options that enable you to make finer adjustments to the position and angle of the lens. Choose a tree that is the same size or a bit wider than your camera. Avoid mounting in a direction where the lens faces the sun for an extended period throughout the day. Direct sunlight can overwhelm the lens and can cause your pictures to appear white, with few distinguishable features of the landscape in your photo. After loading the batteries, installing the storage card, setting the date, time, and operation mode, walk to the center of the area that you want to capture and allow your camera to take a few photos. Then, remove the storage card (if necessary) and check that you have mounted the camera in the direction that maximizes your desired field of view.
There are many different methods to view and store your photos. If you want only to view the pictures, a hand-held digital camera works well. For viewing and storage, a notebook computer or tablet with an SD card reader works well for viewing and storing photos in the field. If your camera is capable of using micro SD cards and you have a smartphone that is also capable, you can view, store, and text the photos straight from your phone. If you are not able to access your scouting location frequently, there are cameras now available that have wireless data transmission capability and will email the photos to you.
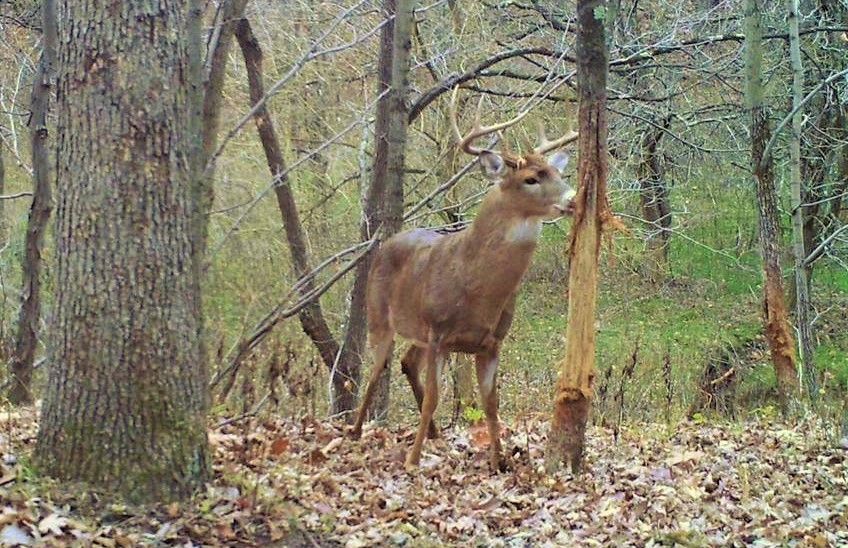
A great deal of information can be gleaned from your photos that will help you to plan for a successful hunt. Each photo has a unique date and time stamp that shows how frequently and at what time of the day deer are traveling through your hunting area. This is especially helpful during early season when bigger bucks can keep regular movement schedules. If you set your camera to take a burst of photos, you can determine the direction from which the deer commonly enter and exit the area. Once bucks have established rubs or scrapes in your area, move your camera to focus on these areas. The photos will show you the frequency and number of bucks visiting the rub or scrape and will help you to decide which of these locations to hunt. Some cameras offer temperature and moon phase information that is also helpful during the mid-to-late season to determine how these conditions influence buck movement in your area.
Effectively using trail cameras gives you the valuable information you need to choose the best location to hunt. Since you carry a TenPoint crossbow, you have already chosen the most reliable and accurate hunting crossbow on the market today. By arming yourself with the right knowledge and equipment, you have maximized your chances for a successful harvest this fall.
Shoot Straight and Be Safe!